Building a React Powered Chatbot in 10 minutes
Summary
This article provides a concise tutorial on building a chatbot using React, aimed at enhancing web applications with interactive conversational interfaces. The process, which takes about 10 minutes, involves setting up a React project, designing a user interface for the chatbot, managing user inputs, and programming the chatbot to respond.
Key insights:
Quick Setup: Starting a new React project and setting up the chatbot environment can be done swiftly using basic commands and navigating into the project directory.
UI Design: Crafting a user-friendly and visually appealing chat interface is crucial for user engagement and can be efficiently achieved with React components.
Interactive Elements: Handling user inputs through React’s state hook allows for a responsive and interactive chatbot that can engage users effectively.
Basic Logic Implementation: A simple response mechanism is implemented to provide immediate interaction, which can be enhanced for more sophisticated conversational abilities.
Expandability: The tutorial lays the groundwork for future enhancements, such as adding natural language processing capabilities or integrating external services, making the chatbot more robust and versatile.
Introduction
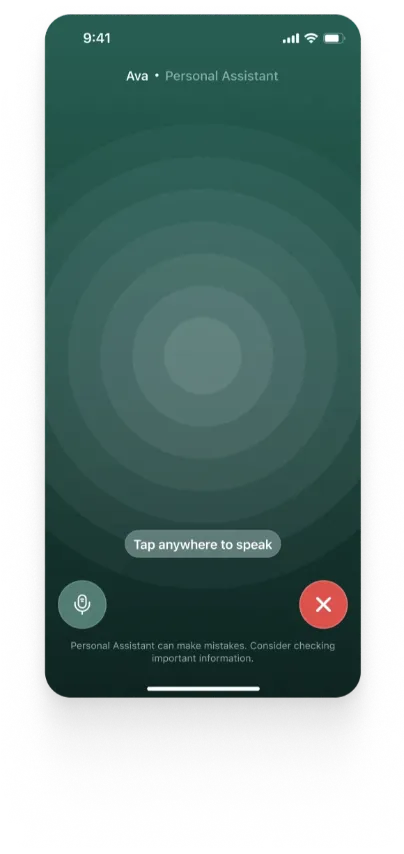
In a world where technology is deeply woven into our everyday lives, creating interactive and engaging experiences has become increasingly important. Imagine having a virtual assistant at your fingertips, ready to assist and engage with you seamlessly.
Today, we're going to learn how to build a chatbot powered by React—an opportunity to bring the power of conversation and interactivity to our web applications. In just 10 minutes, we'll unlock the potential to captivate users with lifelike conversations.
Step 1: Setting the Stage
To begin, open your preferred code editor and create a new React project. In your terminal, navigate to the project directory and initiate the setup process by running the following command:
Once the project scaffolding is complete, navigate into the project directory:
Step 2: Designing the Chatbot UI
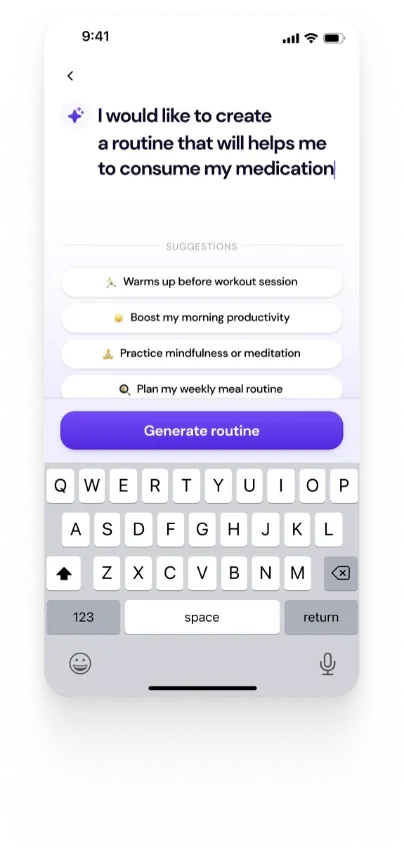
A visually appealing and intuitive chat interface is essential for an enjoyable user experience. Let's create a sleek chatbot UI using React components. We'll start by updating the App.js file with the following code:

In the code above, we've imported a Chatbot component and placed it within our main App component.
Step 3: Handling User Input
To make our chatbot interactive, we need to capture user input and process it accordingly. Create a new file named Chatbot.js inside the components folder and add the following code:

In the code snippet above, we've created an input field and a button to capture and handle user input using React's state hook, useState(). The user's input will be stored in the userInput state variable.
Step 4: The Chatbot Brain
Every chatbot needs a brain to understand and respond to user input. For simplicity, let's implement a basic response mechanism. Update the Chatbot.js file with the following code:

In the updated Chatbot.js code, we've introduced a botResponse state variable to store and display the chatbot's response. The handleSendMessage function is responsible for generating the chatbot's response by calling the generateBotResponse function.
Step 5: Displaying Chatbot Responses
To enhance the conversation flow, we'll display both user input and the chatbot's response in the chat interface. Update the CSS or add a stylesheet to style the chat messages as desired.
Congratulations on successfully building your very own chatbot using React! In just 10 minutes, you've created an interactive chat interface, captured user input, implemented a response mechanism, and displayed the conversation in real time. You're now equipped to take your chatbot to the next level by integrating it with external services or adding natural language processing capabilities.
Feel free to experiment and customize your chatbot further. Add more complex logic, connect it to APIs for intelligent responses, or integrate it into your existing web applications. The possibilities are endless!
Now go forth, engage your users with captivating conversations, and watch your web applications come to life with the power of React-powered chatbots. Happy coding!


